Showing posts with label Holidays. Show all posts

Wednesday, February 13, 2013

Love is Sweet


Valentine's Day is the perfect day to tell the ones you love how sweet they are and you can do it with these sweet sugar cookies! 
I have watched my Mom makes these cookies my whole life and for every occasion; we literally have cookie cutters in every shape imaginable. But since it is Valentine's it only seemed appropriate to make these sweet delicacies in the shape of a heart. Only one problem... I didn't have any cookie cutters! After searching all of Tallahassee, we finally found 1 heart shape cookie cutter. Who would have ever thought it would have been so hard? My husband decided people just eat "break-and-bake" cookies too much. Sad. There is just something wonderful about goodies made from scratch and decorated by hand that Pillsbury just can't capture, especially when made for those you love!


Side Note: For Valentine's day Cupid brought me a new camera! Cupid did a great job and even came a little early, so while I was baking I decided to play with my new camera and document all the steps. 
The kitchen-aid is one of my favorite wedding gifts! It  makes you feel like a pro baking cookies! 

After your dough has chilled, the real fun begins! This next step will blow your mind. After going through a few "University of Cookies" tutorials, I found this tip: Rather than adding a ton of flour on your dough or having dough stick to the rolling pin, just put a wax paper on top and roll! Simply peel away when your dough in the thickness you desire. Great tip! 

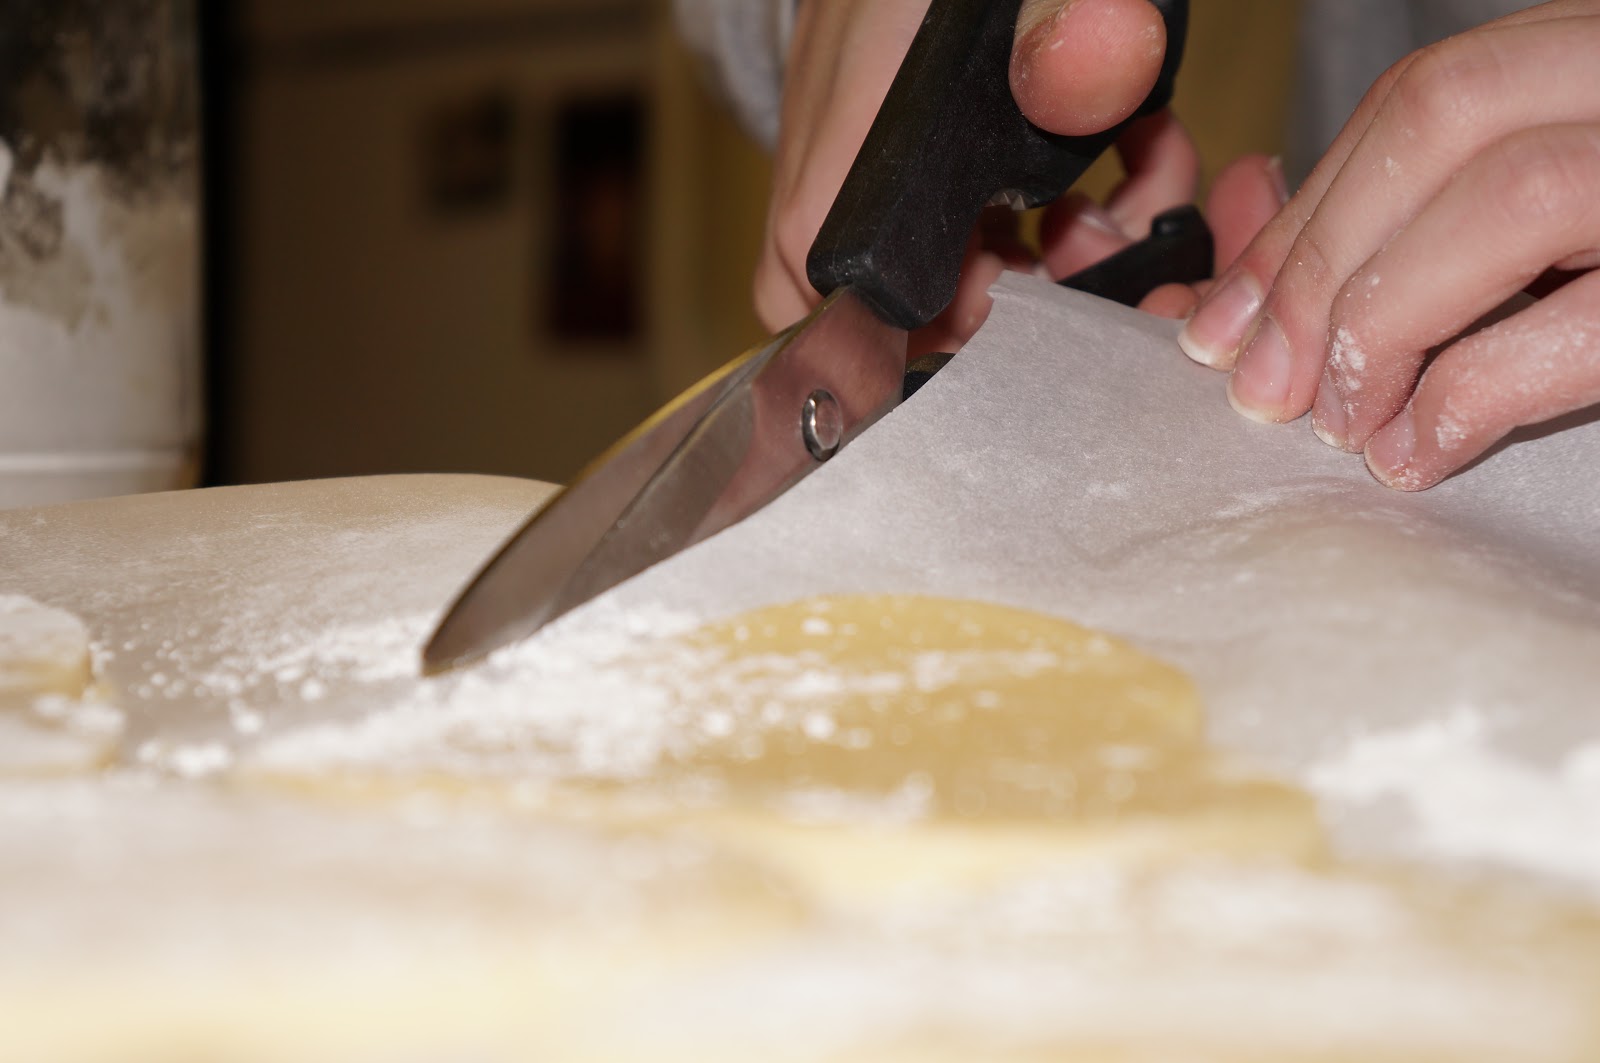
I used parchment paper on the bottom and the wax paper on top. You can't cook with wax paper so don't use it on the bottom! Parchment paper replaces the need to use cookie spray and makes it easier to transfer your cut cookies to the baking sheet:
All you have to do is cut around your shapes and place them on your pan. The shapes will remain perfectly formed and there will be no sticking to the pan. 
These were perfectly cooked. I admit I had to do a little taste testing to make sure they were done ;)

The next step will be to decorate your cookies. I use Wilton's meringue powder to make my icing and simply follow the instructions included. I also add a little vanilla to enhance the flavor of the icing. Add your color and fill a piping bag and you are ready to decorate. 


And that is all! It is as simple as it looks. And even if your icing isn't perfect I promise they will still taste delicious. 

Hope you have a Valentine's day full of love & sweets! Enjoy.

XOXO,
Katie M. 


Tuesday, February 12, 2013

Fat Tuesday!

If I had to pick one thing I love about the South it would be how we celebrate. The parties are grande, the food is delicious, and the decorations are divine! Mardi Gras definitely is no exception! 
Mardi Gras (french for Fat Tuesday) is the last night before the season of Lent.  On Fat Tuesday it is tradition to eat rich foods and sweet deserts before Christians observe Lent (a time of self-denial, which through prayer and patience prepares one for Easter Sunday!).  

To celebrate Fat Tuesday our menu was filled with rich southern classics. On the menu: cajun jambalaya with sausage, sweet cornbread muffins, and fresh fruit.
 
For Dessert? A King Cake of course, no Mardi Gras celebration would be complete without one!
Here is an up close of the colorful icing:

I found this recipe (here) and it was simple, tasted great, and semi-healthy (at least for Fat Tuesday)! I halved the recipe as follows:


Cake: 
1 (8-ounce) cans reduced-fat crescent rolls
2 ounces reduced-fat cream cheese
1 (maybe a little extra!) tablespoons confectioners’ sugar
1/2 teaspoon vanilla extract
1 tablespoons butter
1/3 cup light brown sugar (didn't half this..opps!)
1/2 tablespoon ground cinnamon


1. Preheat oven 350°F. Coat 10-inch round pizza pan with nonstick cooking spray.
2. Separate crescent rolls at perforations, into 8 slices.
3. In mixing bowl, beat cream cheese, confectioners’ sugar, and vanilla until creamy. Spread on dough.
4. In another small bowl, combine butter, brown sugar, and cinnamon with fork until crumbly. Sprinkle over cream cheese. Fold dough points over filling, and arrange to form a circular roll like a king cake.
5. Bake 15-20 minutes or until golden brown. Cool slightly, drizzle with colored Mardi Gras Icing.


Mardi Gras Icing:
1 cup confectioners’ sugar
1-2 tablespoons skim milk
1/2 teaspoon vanilla extract
1. In small bowl, combine all ingredients, except food color. Divide mixture into three bowls.
2. In first bowl, add a few drops of yellow food coloring. In second bowl, add a few drops of green food coloring. In third bowl, add equal amounts of drops of blue food coloring and recoloring (makes purple!)
3. Drizzle over baked cake.


Side note: When mixing the icing I had to go back to kindergarden and remember how to mix my colors! Let's just say I needed a little refreshing. ha ha ha. In the end it worked out and all the colors were just right. 


I hope your Mardi Gras/ Fat Tuesday Celebration has been fun and exciting:) Tomorrow starts the time of Lent! Are you giving up anything ? 

With Love, 
Katie M.

Sunday, January 27, 2013

Sewing Sunday: Valentine's Day Bunting

Welcome back and happy Sewing Sunday :) It has been a wonderful weekend in Tallahassee, we celebrated 2 birthdays, church was inspiring, and I successfully finished another sewing project. As I mentioned in my last post I love Valentine's day, so this week's project surrounded around Valentine's Day! 

I am not sure if it is a southern thing or just my family, but we decorate for every season, holiday, and special event! Christmas is not the only holiday where decorations adorn our home. Unfortunately, I haven't quite gathered all of my seasonal decorations from my parents' house, so my Valentine's decorations are lacking right now. To perk up our home and add a little love, a holiday sewing project was a must. I chose to do a simple bunting with colors that could be used for multiple holidays!


Here are the supplies you will need: 
Pinking shears, pins, thread, ribbon, and your choice of fabrics.
The process is quite logical. First, cut your fabric. I cut my pendant pieces to be 8 inches wide and 10 inches tall (to the peak). This allows for a 1/2 inch seam. Your final measurment of the pendant will be 7x9. 

Next, iron your seams and sew a straight seam along each side. Make sure your bobbin color matches, because it will be the side that shows when the bunting is hung! 

Last, pin each pendant on to the ribbon and sew them on. I used a zig-zag stich to attach the pendants. It was strong and quite cute! 
        
And that is it! Remember I am a beginner and still figuring this all out. If I can do it, you can too. My biggest challenge was getting a consistent size. 

I really want to add a few hearts to the pendants, but haven't figured out quite how I want to do that yet. I would like them to be removable, because this bunting could be used for so many holidays. For example, I could add a touch a blue ribbon and it would be perfect for the 4th of July.

(Imagining Hearts)

 Or think how cute this would be at a FSU tailgate! I did a mock-up of FSU bunting too!
Just imagine the possibilities! Hopefully I will be able to use this for many holidays. I will keep you updated on how I use and transform this cute bunting. 

Happy Sewing Y'all. 

With Love, 
Katie M. 


Saturday, January 26, 2013

Valentine's Day Cards:

Two things I love: Valentine's Day and Photoshop! So what better way to combine my two loves than to create a few Valentine's Cards! 

Remember the days of Elementary school when you decorated those cute little mailboxes for all of your cards and candy? Why can't we do that at work too? I guess it might be a little awkward with the "Be Mine" cards and lovey-dovey cards floating around the office, but who said that wasn't awkward in Elementary school too? I distinctly remember having to give all the boys "friend" cards and all the girls the cute lovey-dovey cards. Ha Ha! 

Either way I think Valentine's Cards are fun and simple way to share a little bit of fun and joy. Who doesn't love mail? So here is to fun grown-up Valentine's Day Cards! Enjoy: 


The cards are the same size as a standard index card (3x5) and you can download them here, just click on the name:
3. Perfect Pear   |      4. Love  

I know Mac Computers automatically zoom to "fit a page" when printing, just adjust the size to 100% and you can fit 4 on a page! Grab a pack of heavy card stock or pearl paper and print away!

Happy Valentine's Day (a little early)!

With Love, 
Katie M. 


Tuesday, January 1, 2013

2013:

Happy New Year! Hope 2012 was a blessed year for you and yours! Here are my resolutions/goals for 2013. What are yours?

Cheers,
Katie M.