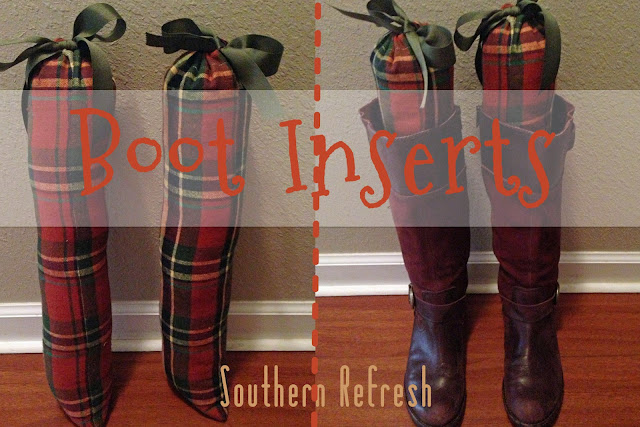
Here is what you will need:
Scissors
Measuring tape
Pins
Fabric
Ribbon
Matching Thread
(You probably have everything you need on hand)
Step 1: Measure a rectangle, mine rectangle was 22x11. My boots are approximately 16 inches tall from where my heal sits to the top of my boot. I also added a few inches because I wanted the boots inserts to show, this is your preference. You will also need to allow 2 inches where the ribbon will be inserted and a half inch inseam. In total the length of my material was 22 inches:
16 inch tall boots+ 2 inch ribbon allowance+ 1/2 inch seam allowance+ about 3.5 inches showing.
For the width of the insert I measured around my own ankle and added a few inches so the insert would fit snug. My final width was 11 inches including a 1/2 inch seam allowance.
Final material measurement: 22 inches by 11 inches. And you will obviously need 2 cuts of this measurement (1 for each boot).
Step 2: Fold down the top of your fabric one inch (see the left picture) and pin. If the "wrong" side (or back of your fabric) is facing up, fold and pin towards you (my material was reversible, so it did not matter for me). We want all of the ugly seams on the back of the fabric. This fold will be where the ribbon will be inserted. Sew a straight line across from one end to the other.
Next, fold the rectangle so the two long edges meet with the "right" sides together, the "right" side is the side you want to be visible when your project is finished. Sew down the long edges with a 1/2 inch seem allowance. Rotate the material and then continue to sew the bottom of the fabric, finishing with a few backstitches. At this point you should have an inside-out tube with a clean opening at the top.
Step 3: Now for the fun! Flip your tube so the finished side is now visible and stuff it with your filling. Make sure to stuff it tightly so your boot insert is strong.
Step 4: Your last step is to run the ribbon through the top seam you created in Step 1. Just as you would thread a drawstring, pin a safety pin to the ribbon and guide it through the hole. Pull the ribbon ends together and tie a bow! I chose to do a drawstring so the stuffing could be easily removed or replaced and the insert could be washed, you don't want stinky boot inserts. You could also add deodorizers in the stuffing if you have stinky feet ;) .
I hope this tutorial was informative and you are able to make your own cute inserts! It was pretty easy to figure out and can easily be adjusted to fit any pair of boots. Let me know how your project goes! Here is to no more sad, frumpy boots!
With Love,
Katie M.


No comments:
Post a Comment